
 USD
USD

Scalp prep: 7 steps to achieve the best bond with your hair system
Posted by Superhairpieces on Oct 19, 2022
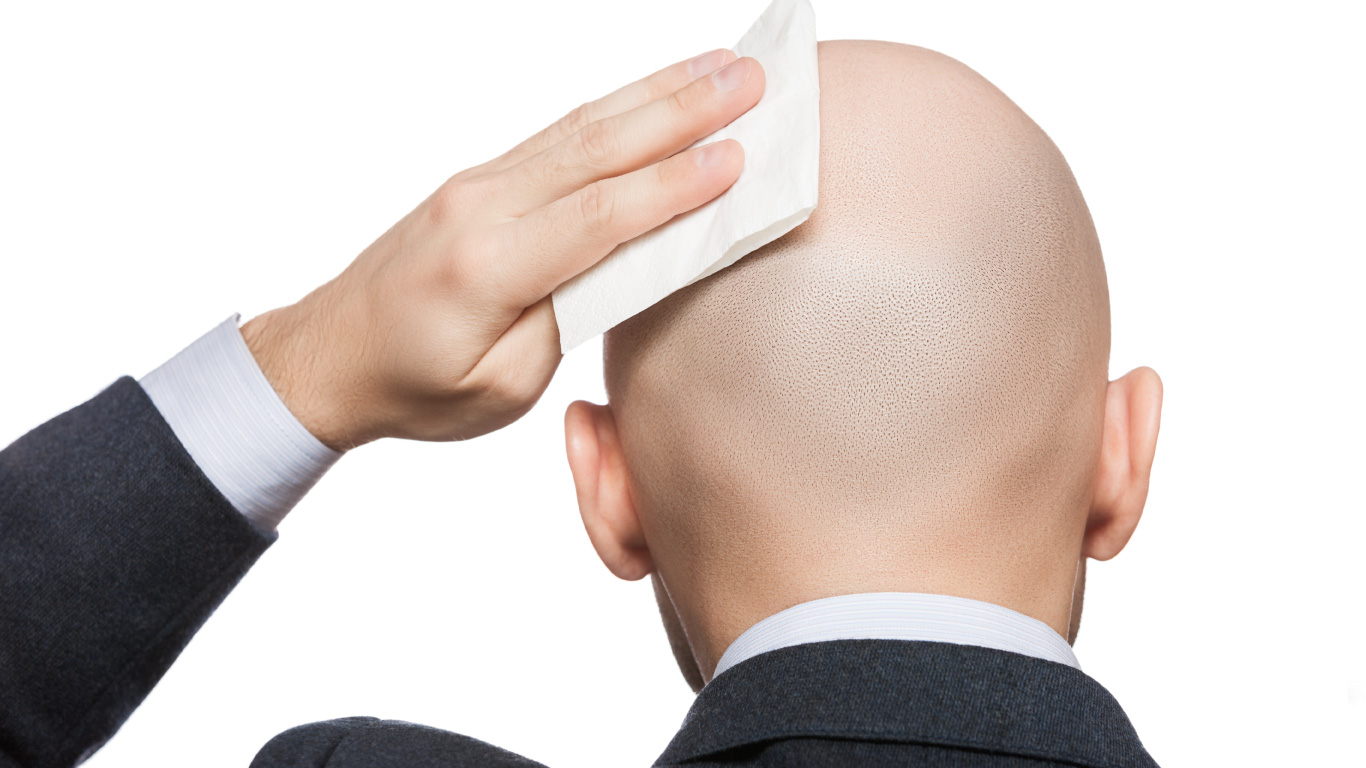
When you’re reattaching your hair replacement system, you want the best possible installation and bonding on your scalp. This not only makes your hair system feel comfortable on your scalp, but will also ensure the adhesive you use, whether it’s tape or glue, will have its hold time last to the absolute maximum so you don’t need to replace it until you absolutely need to or are ready for maintenance or cleaning.
Assuming you’ve already taken your old unit off, we at Superhairpieces have provided seven essential and specific steps you need to follow to achieve the ultimate and best-possible bond for your hair system. As always, you can find all these hair system supplies on our website.
STEP 1: Use adhesive remover on your scalp
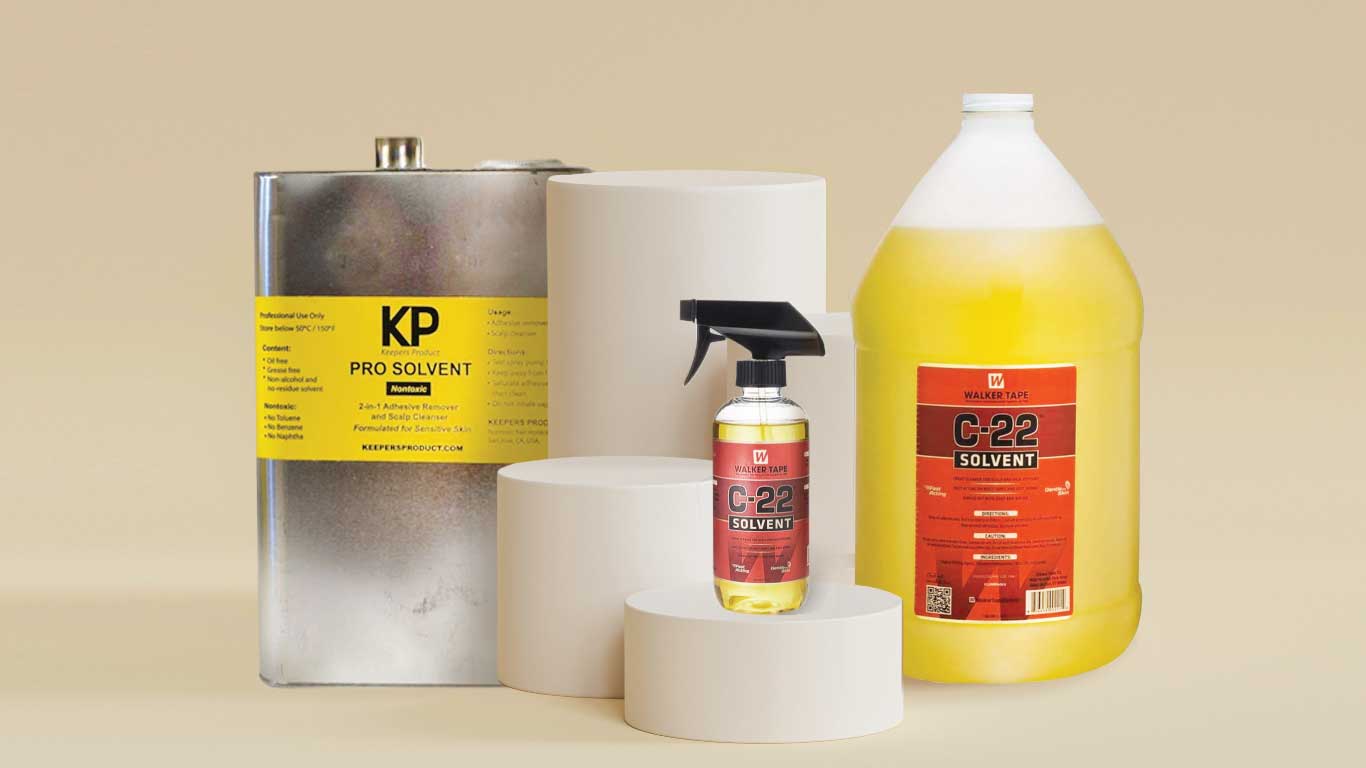
The first thing you will need to do once you remove your old hair system is to clean your scalp. Start off by using an adhesive remover. This will get rid of all the hair system adhesive that has been stuck to your scalp and there will be quite a bit stuck on there, especially if you’ve worn it for a couple of weeks at the least.
We recommend using KP Pro Solvent or C-22 Solvent as these solvent products will not only help with the adhesive removal process, but also soothe and protect your scalp. Just spray it on your scalp and let it sit for a few minutes. The adhesive bonds will weaken and come apart before you can wash it off.
STEP 2: Remove leftover adhesive on hair system
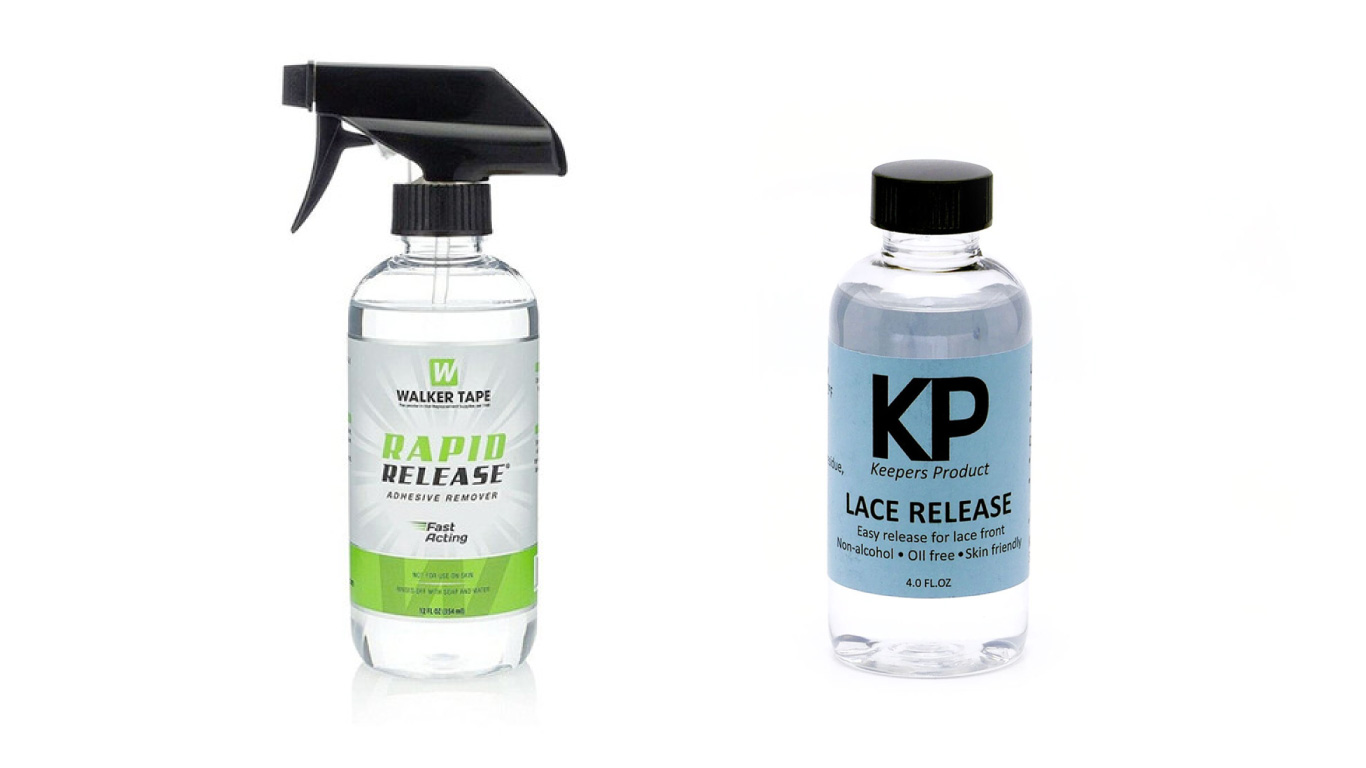
Next, you will need to remove the leftover adhesive from the hair system base as well. We recommend using Walker Tape Rapid Release, which is not only fast-acting, but comes with a pleasant citrus fragrance. Spray it on the removed hair system and allow it to sit for a few minutes so as to allow the adhesive bonds to loosen and weaken. You can then scrape and wash it off. Alternatively, you can opt for the KP Lace Release which is oil-free and leaves no residue.
Keep in mind that these products should only be used on the hair system and not your scalp or skin. Refer back to Step 1 for removing adhesive from your scalp.
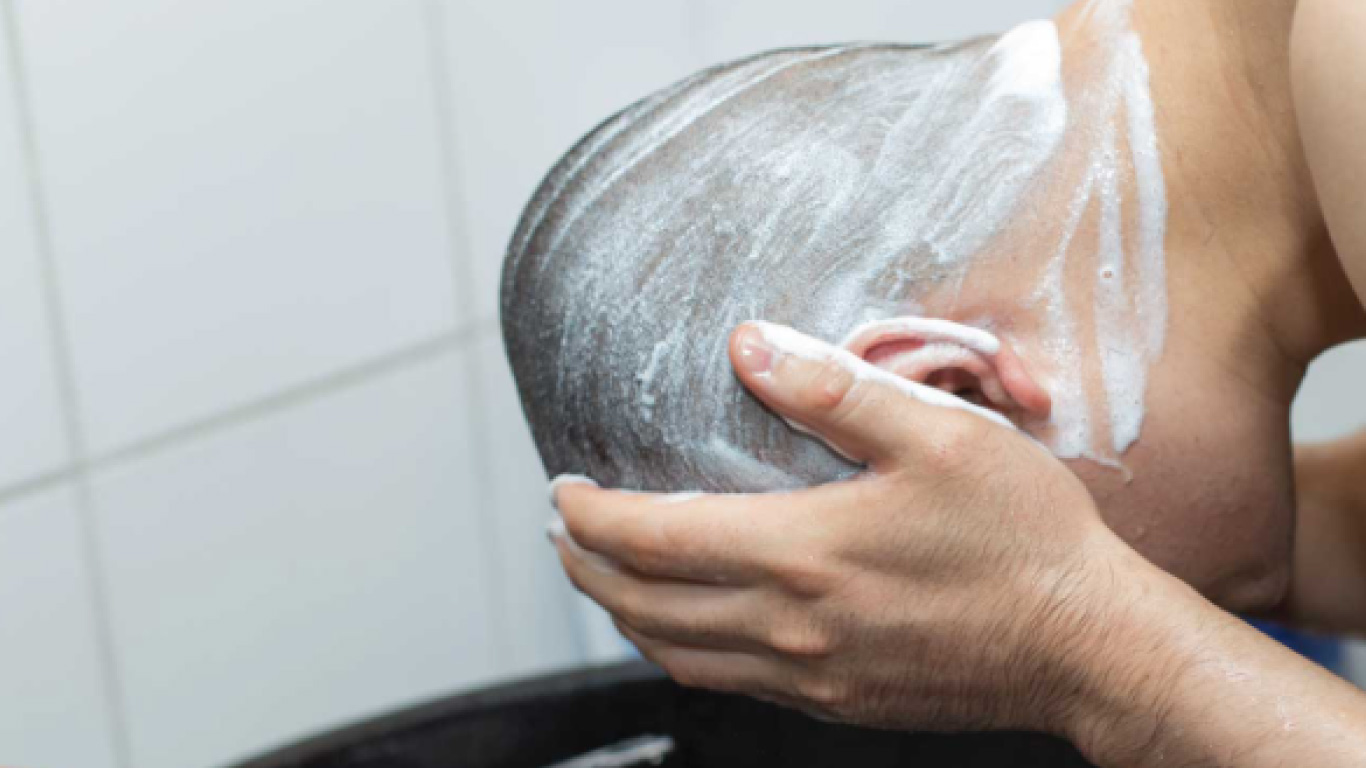
STEP 3: Remove leftover adhesive residue with Bond Breaker

Now with the previous steps, you’re not guaranteed to get rid of all the residue whether it’s on your scalp or hair system base. That’s just how residue works as there’s always a small amount leftover. To get rid of it entirely, we recommend using Bond Breaker Shampoo. This product is designed for hair systems as well as your scalp as it helps break down adhesives while also scrubbing the scalp, making this a very versatile product.
“Bond Breaker is really good for breaking down the adhesive because it has little microbeads in the shampoo that gives it a nice scrub feeling,” says Superhairpieces stylist Christina.
Apply a small amount both on the hair system and scalp and rub just like it’s a regular shampoo. Make sure to focus on the areas where there is still adhesive residue. The Bond Breaker should break the bonds down and clean up the residue. Rinse afterwards and repeat if necessary.
STEP 4: Exfoliate scalp
The next step in achieving the ultimate bond is exfoliating your scalp. For this step, you can use the Yes To Tea Tree Scalp Relief Gentle & Soothing Scalp Scrub.
“You have to exfoliate because there’s dead skin or skin residue on the scalp,” adds Christina. “When you shampoo, you can’t really get under the lace, so when you get your maintenance done, it’s best to use an exfoliating shampoo.”
This is a 99% natural scalp scrub that eliminates any buildup and calms itchy scalps. It also contains tea tree oil, sage oil, witch hazel, and apple cider vinegar, all of which contribute in helping nourish, cleanse and exfoliate the scalp. Just squeeze out a large amount on your hand and massage your scalp. Rinse thoroughly once done. Note that this scrub should only be used one to two times a week at most.
STEP 5: Cleanse hair system with a conditioner
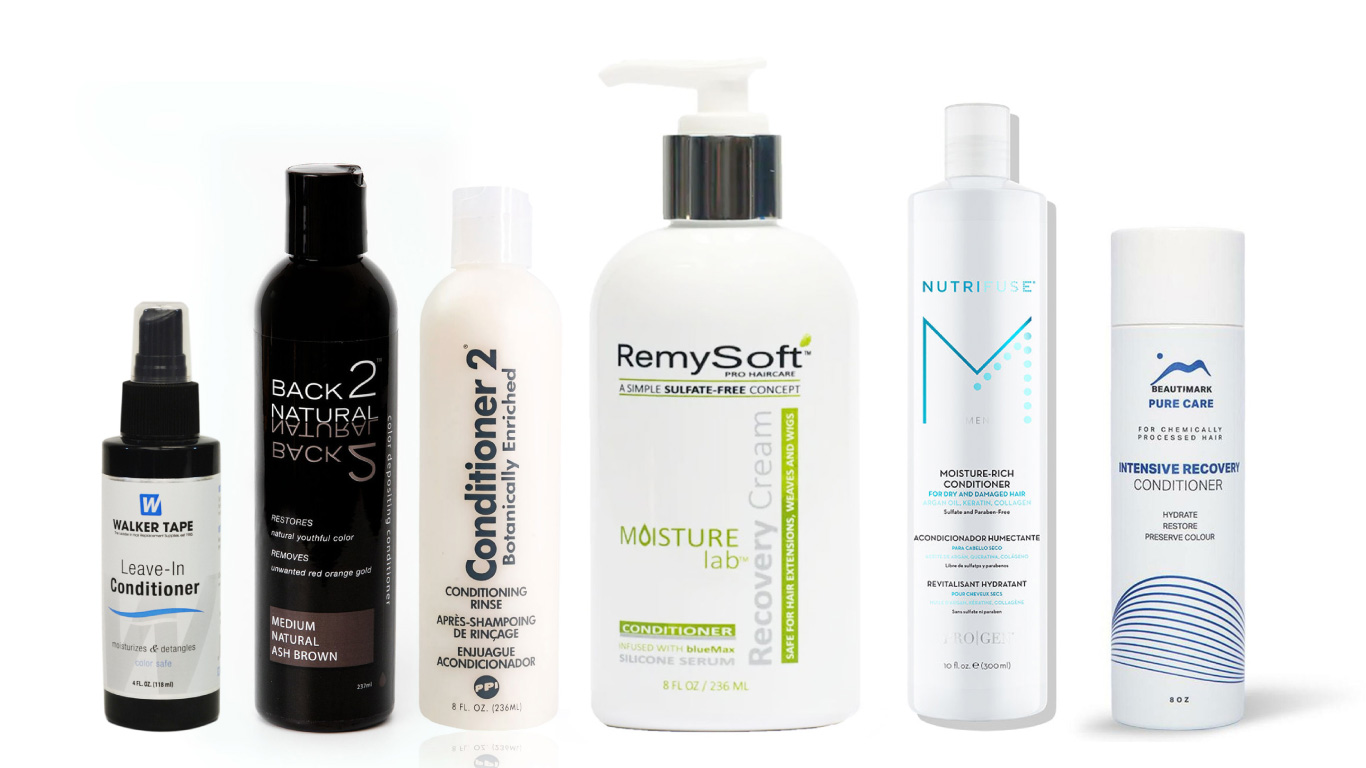
While any glue or tape residue should be removed from your hair system, we still need to make sure the hair is fully cleansed and looks healthy and shiny. You can do this by using a conditioner, preferably one without sulfates.
“Sulfates are like detergent and will lead to your hair looking and feeling dry,” says Christina. “There are no natural oils from your scalp to replenish your hair either, so it’s important that you opt for a conditioner that has no sulfates.”
There are many wig conditioners to choose from at Superhairpieces, but in particular, we recommend Sunshine Hairpiece Conditioner or the Intensive Recovery Conditioner for Human Hair & Prime Blends by Beautimark. Alternatively, you can also use a leave-in conditioner which doesn’t require to be rinsed off.
STEP 6: Apply alcohol to saturate scalp
We’re almost ready to apply the hair system on your scalp again. Before we do that, we need to saturate the scalp with alcohol. Walker's Isopropyl Alcohol is a great option for this. Using a brush, simply apply a small amount on the area of the scalp where the base will stick on and let it dry for a few minutes.
This will clear out any remaining oil and dead skin cells as well as dry out moisture. More than anything, it will prepare your skin for bonding. It’s important that you perform a small patch test prior to applying if this is your time to ensure there is no adverse reaction or irritation with the alcohol.
STEP 7: Use scalp protector or a skin med before applying adhesive again
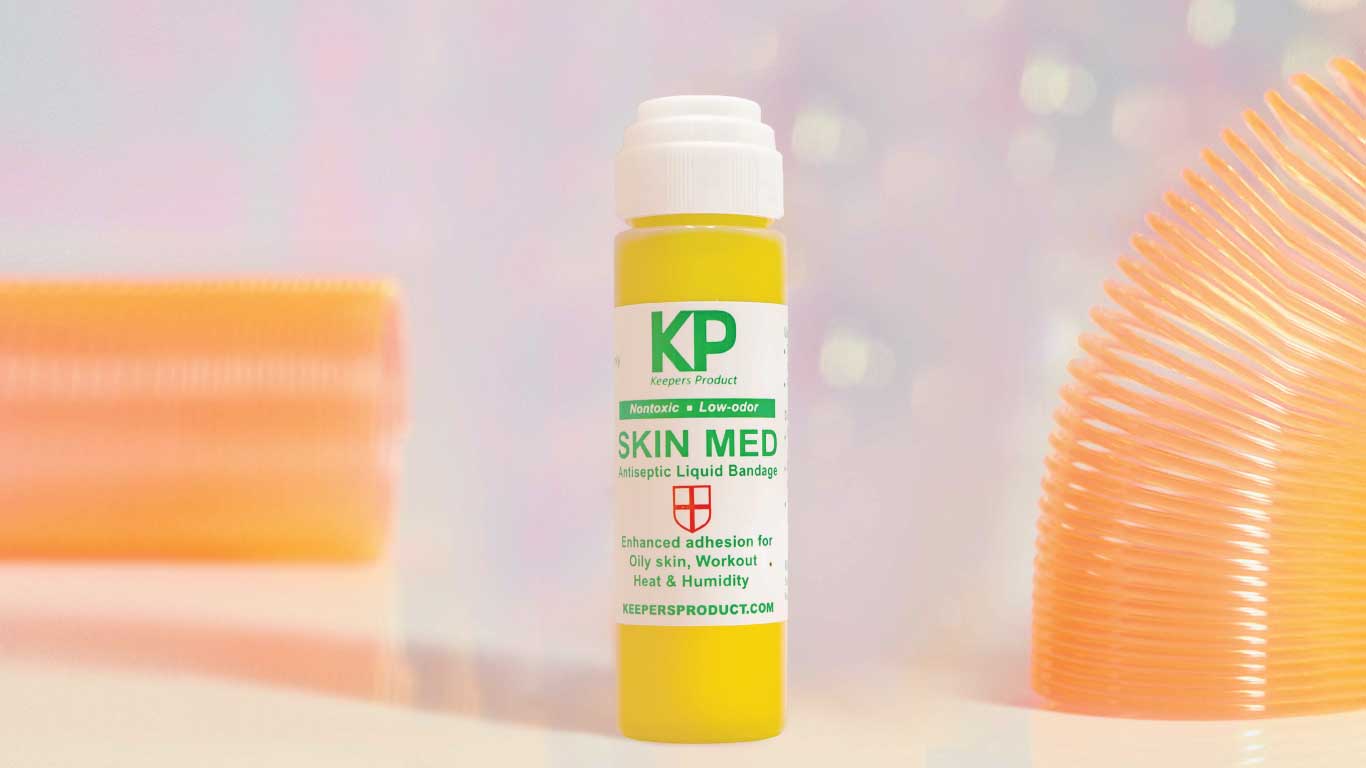
Once the alcohol has dried, it’s time for one last step, and that’s applying a scalp protector or a skin med. You can do this with Walker Scalp Protector or KP Skin Med. These products not only ensure an improved adhesion, especially during hot and humid weather, but also provide a thick protective barrier to prevent irritation from adhesives and tapes. An added benefit is if you tend to have oily skin, these products provide a barrier against oils as well.
ConclusionOnce you follow these steps, your scalp should be in perfect condition to wear your hair system again and achieve the ultimate and strongest bond possible.
----------------------------------------
Interested in learning more about hair systems? Browse through our website at www.superhairpieces.com (US & International) or superhairpieces.ca (CAN)
Don’t forget tag us at @Superhairpieces and #Superhairpieces on your social media channels to get a shoutout! And make sure to like us on Facebook, follow on Instagram and subscribe to our YouTube channel!

 Likes
Likes


