GBP
GBP

How to Get a Natural Hairline with a Hair System: Advice from Superhairpieces Stylists
Posted by Santana Fell on Aug 12, 2026
A natural-looking hairline is the single biggest differentiator in whether a hair system reads as your own hair or as an obvious hairpiece that makes people do a double-take.
Base material, color, density, styling, and even how a hair system user takes off a baseball cap can all make or break that illusion.
Expert Guide To The Best Hairline With A Hair System
This guide runs deep into hairline technique and ways to get that perfect hairline with a hair system. Whether you're a stylist refining your process or someone shopping for their first hair replacement system, all the trade secrets have been laid out for you to achieve that realistic hairline every hair system user loves.
1. There's No Single "Best" Base
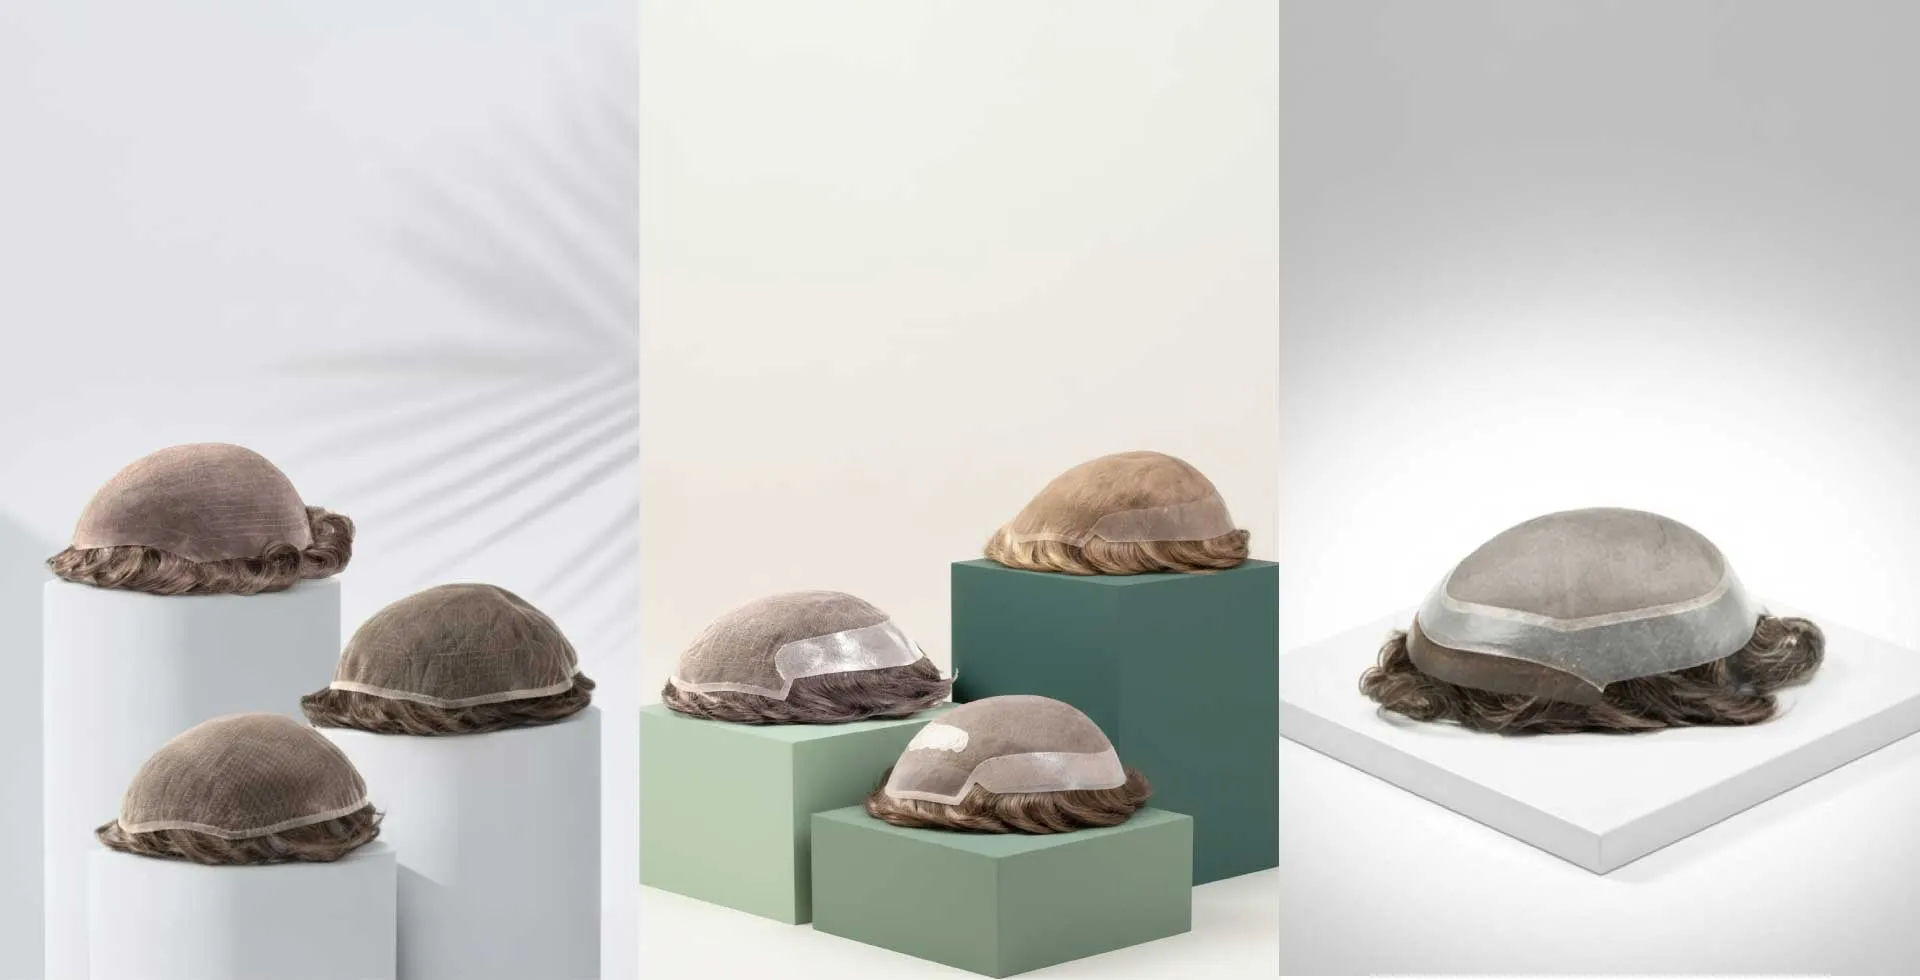
One theme that all our stylists agree with is that the "most natural" system isn't a specific model; it's whichever base fits that client's head shape, skin tone, and hair texture.
A base that looks flawless on one client can look shiny or obvious on another because of skin tone and how the material reacts to light. Gulay, one of Superhairpieces' stylists, said, “In one case, a mono base system ( Superhairpieces M100) actually gave the most natural result for a client who needed heavy top blending with his own hair, even though lace and skin are usually the go-to for the most natural hairline.”
That's echoed in our own comparison breakdown of natural-hairline systems:
Full French Lace hair systems, the most popular base for a natural look with realistic density; French lace is the industry standard for blending hair for fashion-forward styles.
Poly skin/lace with poly sides, seamless look up front, with poly on the sides and back for better adhesion and easier cleaning.
Silk top hair systems with front-lace bases like the M104, where poly wraps all the way around for maximum durability without sacrificing the natural lace front.
Takeaway: don't default to "lace is always best." Ask what the client's skin tone, sweat level, and density needs actually are, then pick the base accordingly.
2. When the Hairline Shape Itself Is the Problem
Stock hairline shapes are usually a specific contour like A, C, or CC. Not every client's balding pattern matches this. Some clients have a squared forehead but a standard stock piece simply wasn't built for that shape. To fix that, we go for a custom base to get the most natural look. Rather than forcing a stock shape onto an unusual hairline (and asking the client to shave daily forever), the front hairline can be built to follow the client's exact shape, square, receded, asymmetrical, whatever it is, from the start.
Read: Unusual Hairline? Here's How Our Stylist Handles It
3. Keep the Client's Own Hairline Whenever Possible
This was called out as "the most natural way to install a hair system, full stop". If the client still has some of their own hairline, don't shave it off; work around it instead.
Shave only the middle section of the scalp and leave roughly the front inch of the client's own hair intact. Blend the system well with the bio hair. In this way, the client can then wear a more durable system while flaunting their natural hairline.
4. Hair Transplants Need a Different Playbook
Transplanted hairlines behave differently from natural ones, so treating them the same way is a common mistake.
Transplanted areas are often very thin, so a standard or high-density system at the back can create a visible ridge right where the transplant meets the system.
Growth after a transplant is frequently uneven, with good density on the back and sides, and much less right at the very front.
The solution is to use low-density systems or to thin down hair density around the transplant line, so there's no lifting or odd-looking hairline.
Matilda, Superhairpieces stylist, says, “When a client has transplanted hair up front, the recommendation is to keep the 'baby hair' from the transplant rather than shave it; it genuinely contributes to a more natural look. The system is then cut to blend over or around those strands, and if the transplanted hair is unruly, a product like "skin prep" can flatten it so the system lies smoothly on top without shaving anything.”
5. Non-Shave Application: You Don't Always Have to Shave
For clients who don't want to shave their existing hair, sparse growth, thinning, or just personal preference, there are non-shave methods:
Products like skin prep work like a hairspray, flattening the client's own hair so the system sits on top cleanly without bulk or movement.
For very sparse bio-hair, a lower-density top on the system helps it blend rather than compete with what's left.
Daily tape is softer and less sticky than standard tape and can be applied on the perimeter over sparse hair. It's a workable option, but not the best, as it can still cause some wear on the natural hair underneath.
6. Color Matching: Why Ash Tones Keep Coming Up
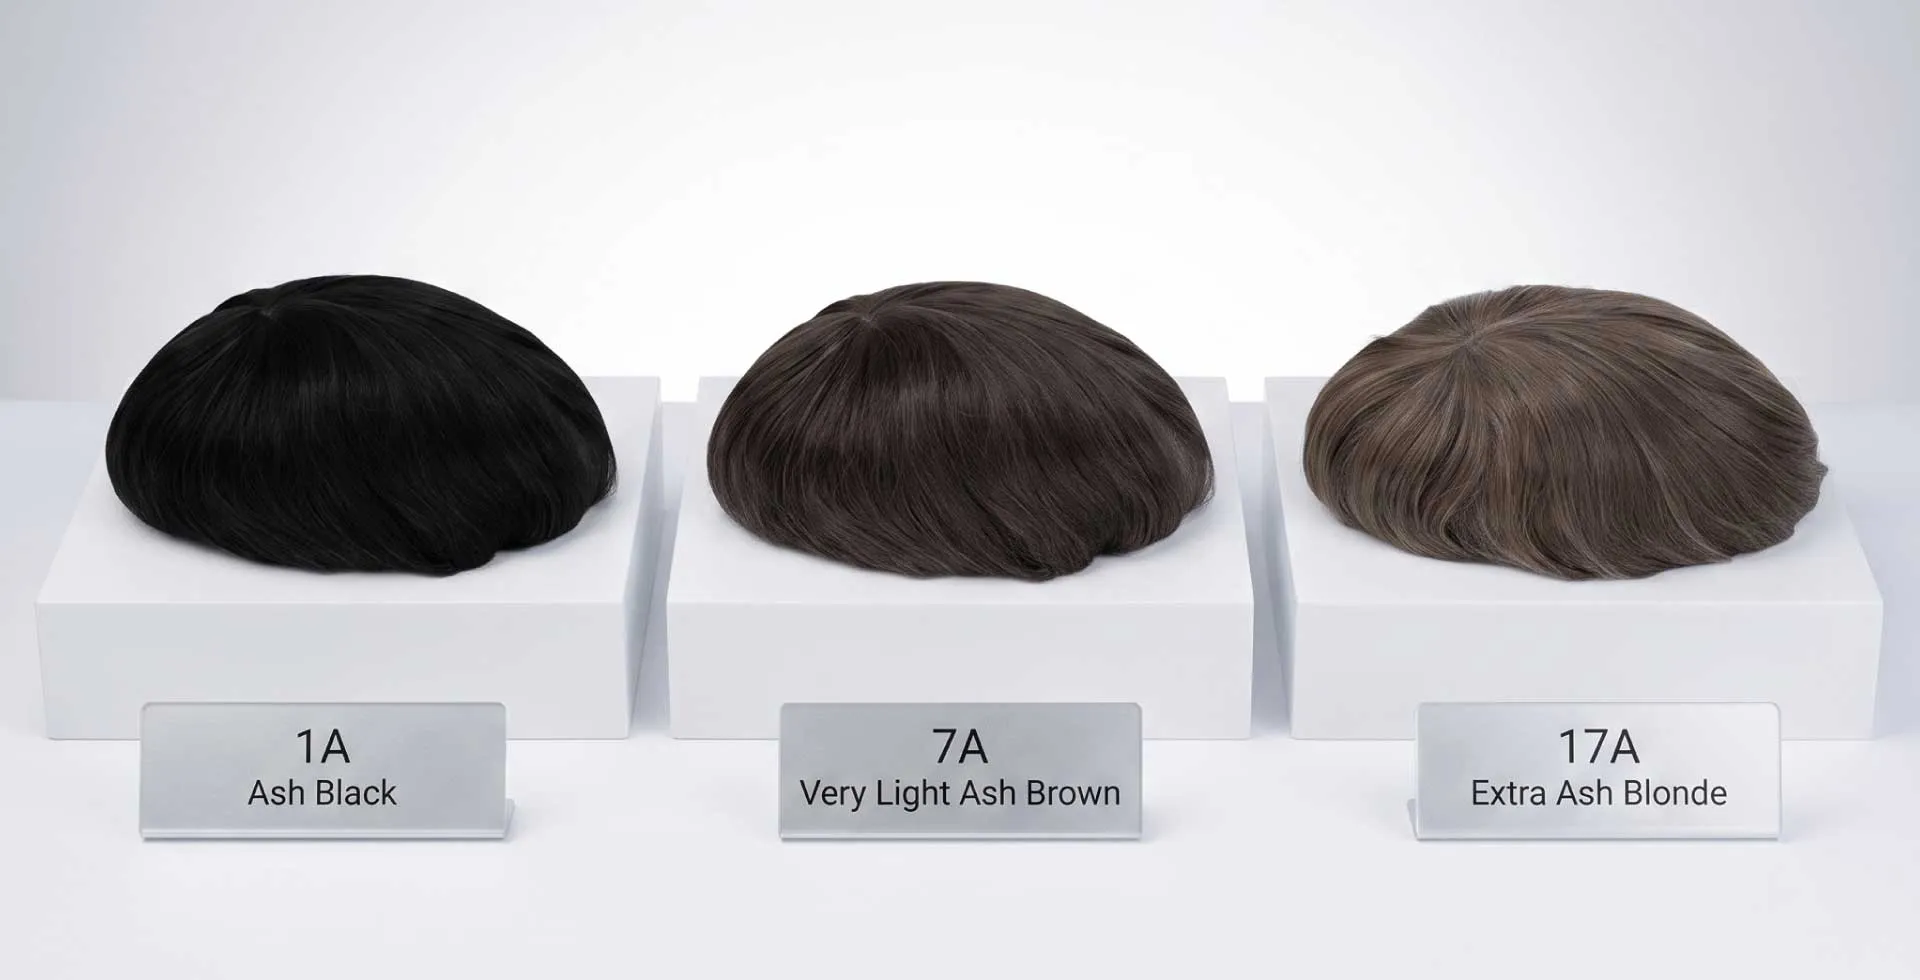
Ash tones tend to look the most natural, especially for clients with some gray.
One Superhairpieces client whose hair simply wouldn't match any color piece at 11B was too dark. A year later, once his hair had grown out and grayed at the temples, a two-ash (2A) shade matched perfectly and looked far more natural than the original attempt.
Superhairpieces stylists explained that ash blends better with gray because gray reads as "white," and ash tones, despite technically being a darker shade family, visually read as lighter and blend rather than clash, unlike 11B or 1B, which can look flat next to natural grays. Ash holds up better outdoors too; other shades can pick up a warm, reddish undertone in direct sun that ash doesn't.
If you're a client: if your consultation includes a color match, ask specifically whether an ash-family shade has been tried, especially if you have any gray coming in.
7. Density Isn't "Set and Forget," It's a Curve, Not a Point
A subtle but important point to note is that hair systems shed over their lifespan, so density should be installed slightly thicker than the client's ideal on day one; it settles into the "right" natural density over the following weeks, not immediately.
Practically, that means:
New clients should expect the piece to look a touch thicker on day one than what they'll be wearing in two weeks.
Give it 1–2 weeks to "settle" before judging whether it looks natural; first impressions in a mirror on install day are often skewed simply because it's unfamiliar, not because the density is actually wrong.
If a client insists on sending density down right away, the safer approach is "better to start slightly thick than sorry," since it only heads in one direction (down) from there.
8. Styling and Adhesive Choices That Hide the Line
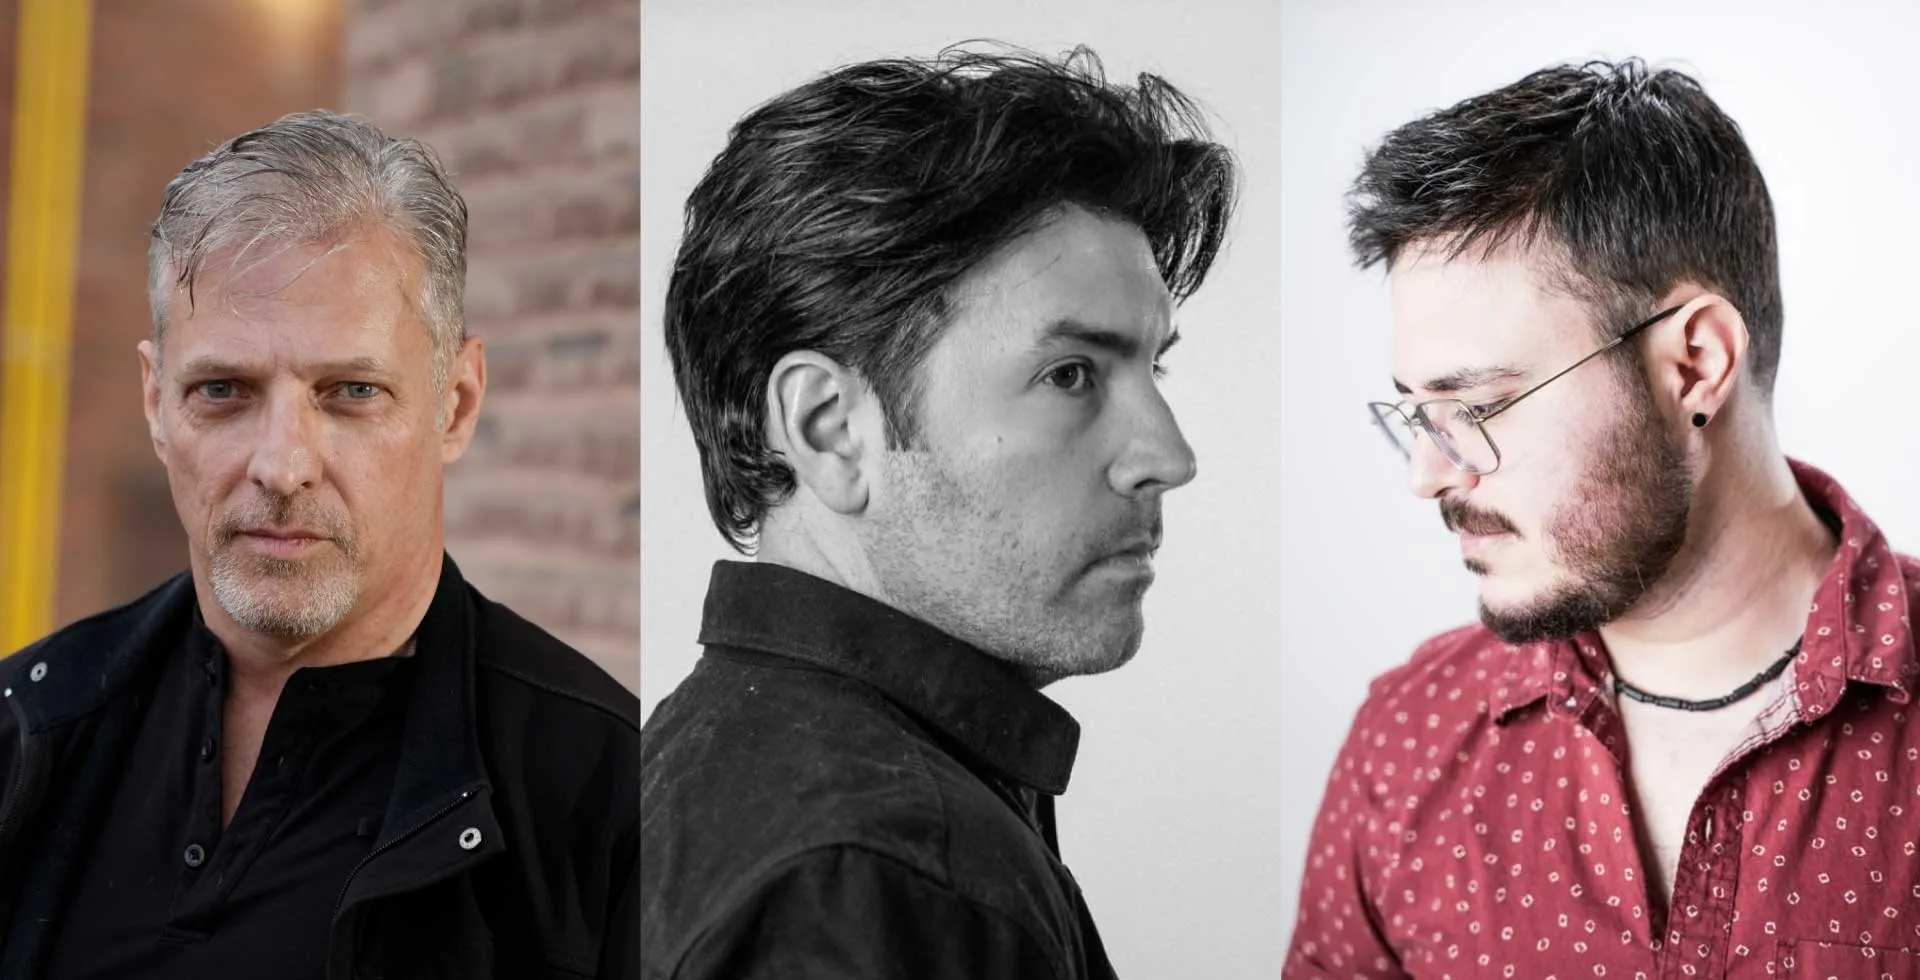
Even a perfectly matched, well-shaped system can look artificial if it's styled wrong. Here is what to keep an eye on:
Avoid combing straight down over the hairline; it tends to expose the line. Instead, comb the hair backward to blend with the client's own hair, then drop it forward if a down style is wanted.
A slightly "messy" finish (fluffed with fingers after combing back) reads as more natural than a perfectly slicked style; in fact, perfection is often what gives away a system.
Even No Shine tape can catch light at the hairline. If the client wants a slicked-back style, comb it a touch lower or add a slight puff to camouflage the line rather than going fully slick.
Adhesive choice matters by base type:
Ultra Hold tape for mono bases, reliable and easy to clean.
Ghostbond (including Ghostbond XL) for lace and thin skin, but not a universal fix. Oily skin or heavy sweating can make it gooey and cause sticking issues, so it's not right for every client.
For clients with sensitivity, heavy sweat, or oily scalps who can't tolerate standard adhesives, breathable lace systems, water-based adhesives, alternative tapes, and, as a last resort, clips (less natural-looking, more restrictive, but an option).
Allergy testing is non-negotiable before any adhesive touches a new client's skin: a dot of product behind the ear, checked 24 hours later, before install day.
A few more pro-level adhesive notes worth adding to the comparison above:
Tape vs. liquid glue at the front, specifically: tape adds thickness under lace and its corners tend to lift first with sweat, water, and heat; it can also read as shiny or slightly gray against the skin. Liquid glues like Ghost Bond dry matte and blend closer to skin tone, but they're more technique-sensitive. Exposed glue can turn white if it gets wet, and misplacement can trap hair as the lace shifts during application.
The Ultra Hold + Ghost Bond combo: several stylists layer these rather than choosing one. A thin coat of Ultra Hold goes down first and is allowed to dry completely, then Ghost Bond is pressed on top. Ultra Hold contributes strength and longevity; Ghost Bond contributes the invisible, matte, skin-like finish. Together they tend to outlast either product used alone.
Client aftercare matters as much as the product: clients using Ghost Bond should pat (not rub) dry after showering and after workouts. The bond is water-resistant, not waterproof; repeated soaking without proper drying is one of the most common reasons a "good" adhesive seems to fail early.
9. Base Thickness: The Silent Killer of a Natural Hairline
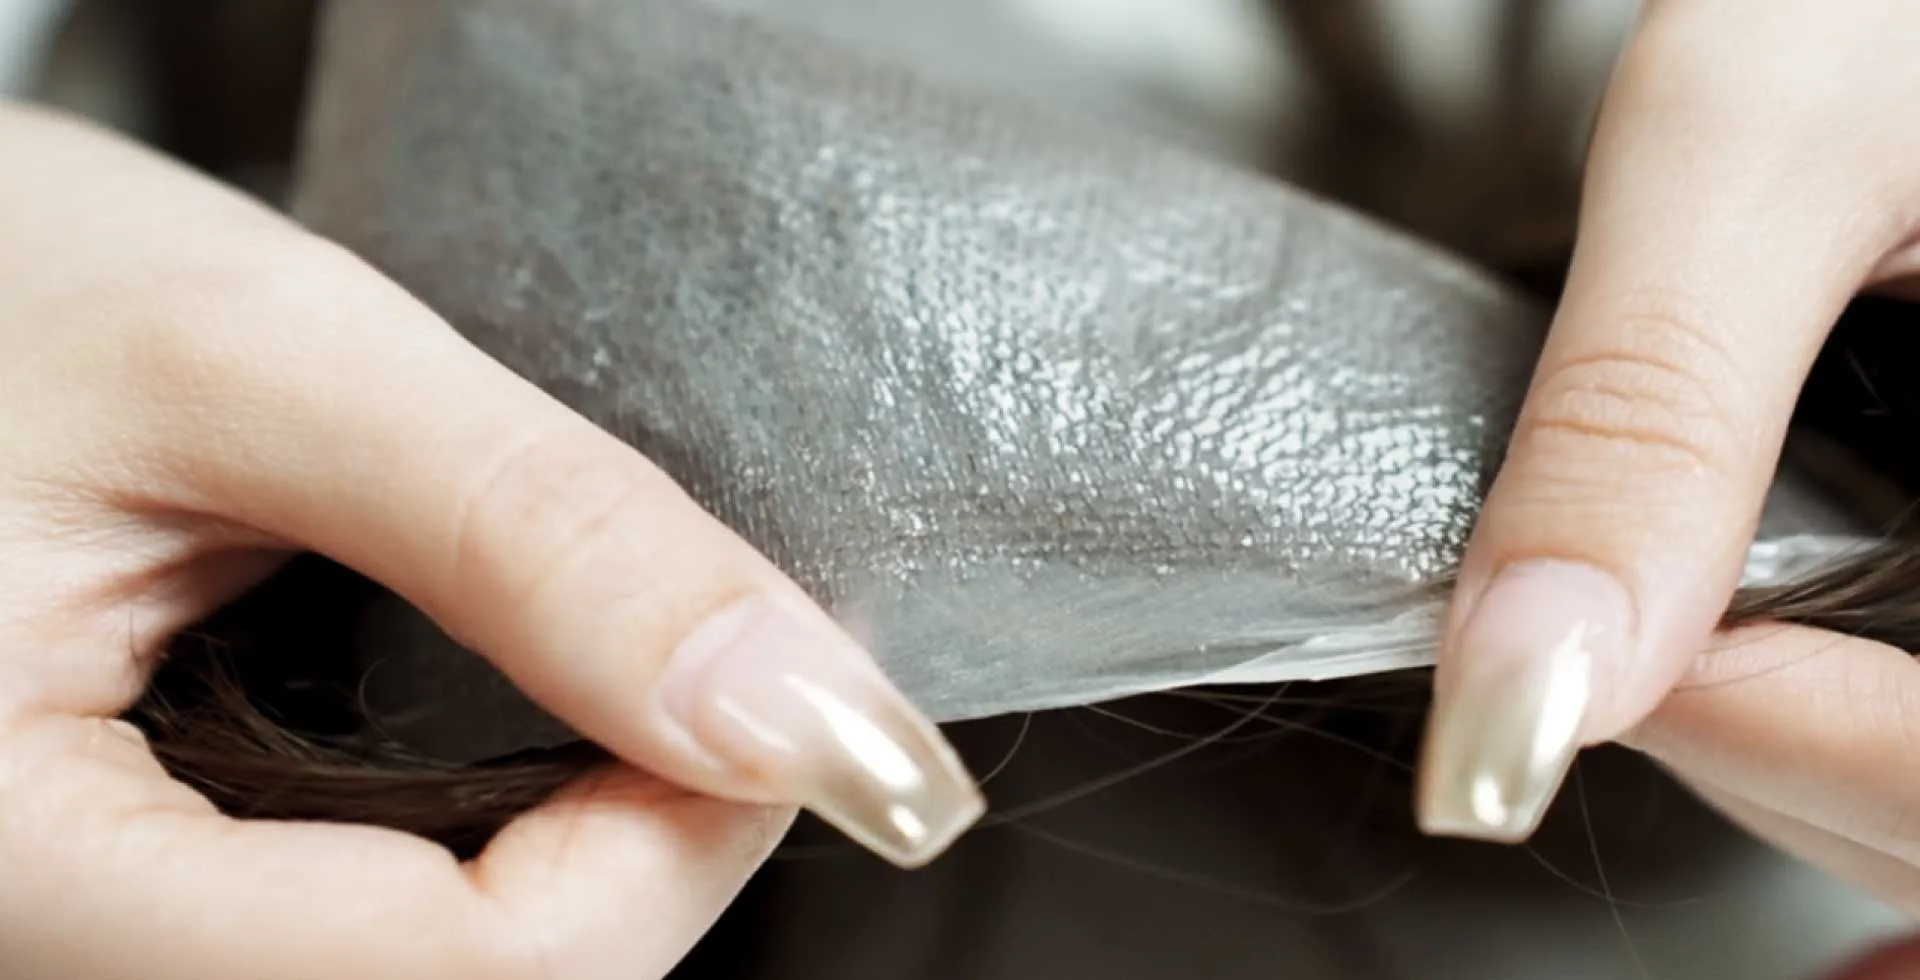
Beyond material type, thickness on its own determines a lot of what happens at the front edge. Stylists are consistent on this: a thinner base sits flush against the skin in a way a thicker one structurally cannot.
Pro tip: when measuring and trimming a system, leave a few natural hairs at the hairline rather than cutting them all away. They're not just cosmetic; they help visually blend the transition and anchor the placement.
For ultra-thin bases, think HD111 systems; there's an added installation risk: applying adhesive across the center of the base, not just the perimeter, creates a real chance the material folds onto itself during placement. Once that crease sets in an extremely thin base, it's nearly impossible to remove. The safer approach on these ultra-thin systems is glue at the perimeter only.
10. Marking the Hairline and Getting Adhesive Wear-Time Right
Accurate placement starts before any glue goes down, and how long an install lasts has less to do with "how many coats" than most people assume.
Marking technique:
The most consistent stylist preference is a finely sharpened, makeup-grade pencil (brown or dark), applied as tiny dots, then faded with a fingertip until it's barely visible but still readable as a guide.
A comb-dent technique (pressing a comb into the skin to leave a temporary indentation) works fine with shinier adhesives like Ultra Hold, where the dent shows up against the reflective surface.
That same comb-dent trick doesn't work with Ghost Bond, because it dries matte and matches skin tone so closely, the indentation disappears before the system goes on. A pencil mark is the more reliable choice there.
11. Dark Hair, Visible Knots, and Skin-Tone Matching
Lace bases behave very differently depending on hair color:
For light or blonde hair, skin base looks remarkably natural; the knotless v-looped hair almost disappears against the scalp, mimicking natural hair growth.
For black or dark brown hair, the small knots on lace are much easier to hide. In these cases, a lace base is usually the better call.
Skin tone itself can be a mismatch risk too; clients with deeper or Southeast Asian complexions requesting lighter skin-base systems sometimes notice a grayish tint developing over time. That's a material/complexion mismatch that styling alone can't fully correct.
12. Everyday Habits That Protect a Natural-Looking Hairline
Even the best install can be undone by day-to-day habits. Omar, Superhairpieces stylist, flagged a very specific, very common culprit: hats.
With warmer weather, more male clients want to wear hats, and the wrong technique can repeatedly lift the front hairline. The fix taught to clients:
Putting a hat on: start from the back, stretch it, and pull it down.
Taking a hat off: pull it forward, not straight up or back.
Pulling a hat straight back off the head catches and lifts the front edge, exactly the kind of small, repeated stress that causes a hairline to lift over time.
Read more: Can I Wear a Hat With a Hair System?
Other everyday-life notes:
Traveling: complete any due maintenance before a trip, and pack tape, glue, and solvent; a lift while away is much easier to fix on the spot if the client isn't caught without supplies.
In-the-moment lift fix: clean the skin with alcohol (if available) and press the system back down, or camouflage a lift by combing the hair slightly forward/downward until a proper fix is possible.
Carry a Ghost Bond pen: for clients using Ghost Bond, the signature Ghost Bond touch-up pen is worth recommending after their first few installs; a small lift can be pressed back into place in seconds, no salon visit required. Clients who carry one tend to feel noticeably more confident wearing their system day-to-day.
Adjustment period: most new wearers need about a week to feel fully natural in a system, though many are comfortable by the end of day one. Confidence itself is part of "looking natural"; self-consciousness is often more noticeable than the system.
Read more: How to fix your hairline if the hair system lifts
Quick Reference: What Makes a Hairline Look Natural
Factor | Natural-hairline tip |
Base material | Match to skin tone/sweat level; lace and Skin hair systems are usually most natural, but not universally |
Hairline shape | Use a custom template rather than forcing a stock contour onto an unusual hairline |
Own hairline | Preserve it where possible, shave only what you have to |
Transplant clients | Use low density near the transplant line and keep transplanted "baby hair" if possible |
Color | Try ash tones, especially with any gray present |
Density | Install slightly thicker; let it settle over 1–2 weeks |
Styling | Comb back and slightly messy, not slicked flat |
Adhesive | Ultra Hold tape for mono; Ghostbond for lace/skin (not for oily/sweaty skin) |
Base thickness | Go thinner where possible; thick bases create a visible ridge no adhesive can fix |
Marking | Faded pencil dots for Ghost Bond; comb-dent works only with shinier glues like Ultra Hold |
Adhesive layering | Ultra Hold underneath (dried), Ghost Bond on top, for strength + matte finish |
Dark hair + lace | Knots show more; consider a skin base instead for black/dark brown hair |
Daily habits | Remove hats by pulling forward, not straight back; carry a Ghost Bond pen for touch-ups. |
Following these tips will give you the best hairline you can achieve with a human hair system. We always recommend a consultation with our team for the best suggestions according to your lifestyle and needs. Book yours now!

 Likes
Likes