
 EUR
EUR

How to fix your hairline if the hair system lifts
Posted by Santana Fell on Mar 31, 2026
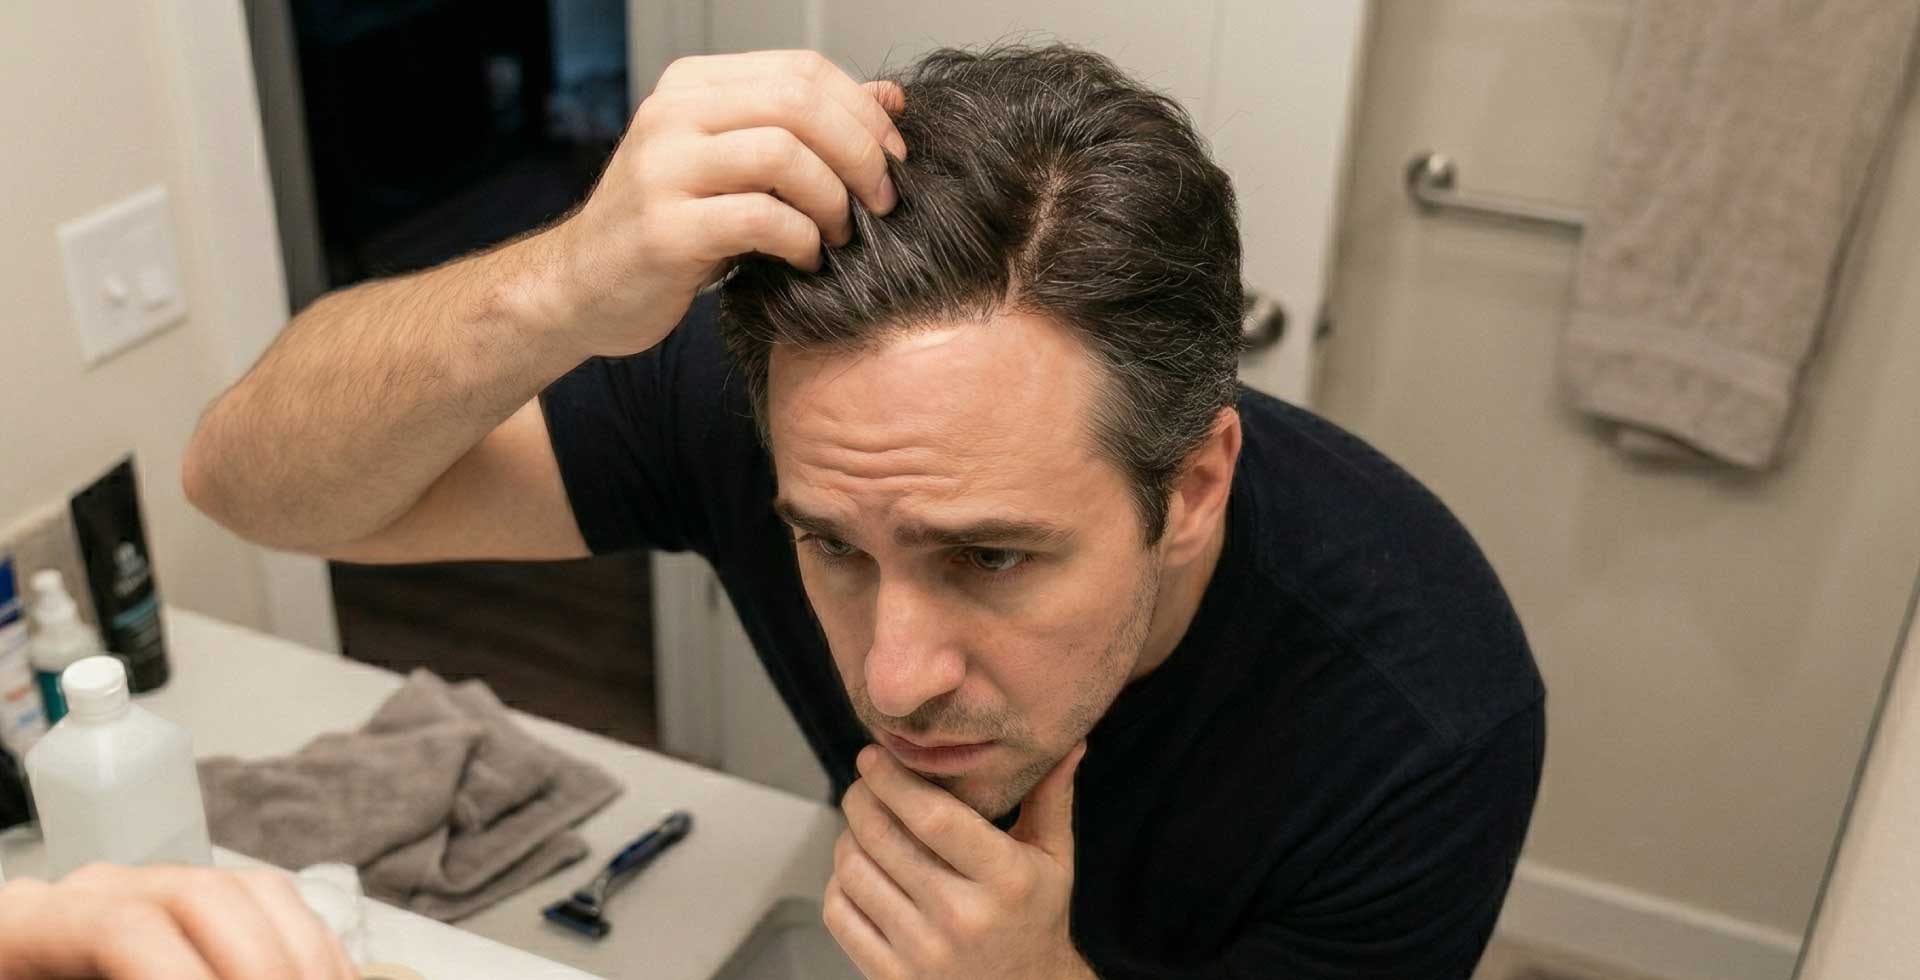
The number one most common frustration among hair system wearers, particularly beginners attaching their toupee on their own, is their hair system’s hairline lifting. The adhesive holds perfectly everywhere except one specific section, usually along the front, which is the most noticeable place.
We know the panic and fear you go through at that time, so we are here to help.
How can you fix a lifted hairline at home?
In this blog, we give you expert tips and tricks to touch up the front hairline bond of your men’s toupee and fix it easily.
The trick lies in attaching or reattaching the toupee perfectly.
Read to know more pro stylist-approved fixes for both lace systems and thin skin systems, along with simple home maintenance techniques to touch up your bond, adhesive tips, and tricks to keep your bond secure, and prevent hairline lifting from recurring in the future.
Why Is Your Hair System Hairline Lifting?
If your hair system's front hairline is lifting, you're not alone. The hairline of a hair system can start lifting after a few weeks, or it can happen just a few days or hours after installation.
Here's what causes it:
- Forehead and temple regions produce more sweat and natural oils, breaking down adhesive bonds faster
- Humidity: Your environment inside homes, offices, or the external environment may be humid. This accelerates bond breakdown at the temples and front.
- Not attaching the hair system correctly: Either your application method was poor, or you didn't use enough wig glue or wig tape.
- Using a low-quality hair system: Cheap hair systems with poor knotting, poor hair quality, and low-quality material can compromise the look and attachment of your hair unit.
- Not using a scalp protector.
- Insufficient drying time before pressing the system down. Ideally, allow 7 minutes for the adhesive to dry before adding layers and making the final attachment.
- Not giving your hair system enough time to cure: Sweating, washing, wetting, brushing, or touching the hairline within the first 24 hours after install can hamper the freshly applied adhesive bond.
- Poor scalp prep: Scalp not shaved, oils, residue, or moisture not cleaned thoroughly before re-attaching the men’s hair system. Your scalp should be clean, dry, and free of oil before any fixes or bonding.
- Product seepage from conditioners, leave-in treatments, or styling products into the lace creates a slippery surface.
- Base material stretching: Repeated removal in identical spots causes micro-damage and warping.
Pro tip to avoid hairline lifting:
- Apply liquid adhesive specifically at the hairline. If needed, tape can be used elsewhere.
What you need:
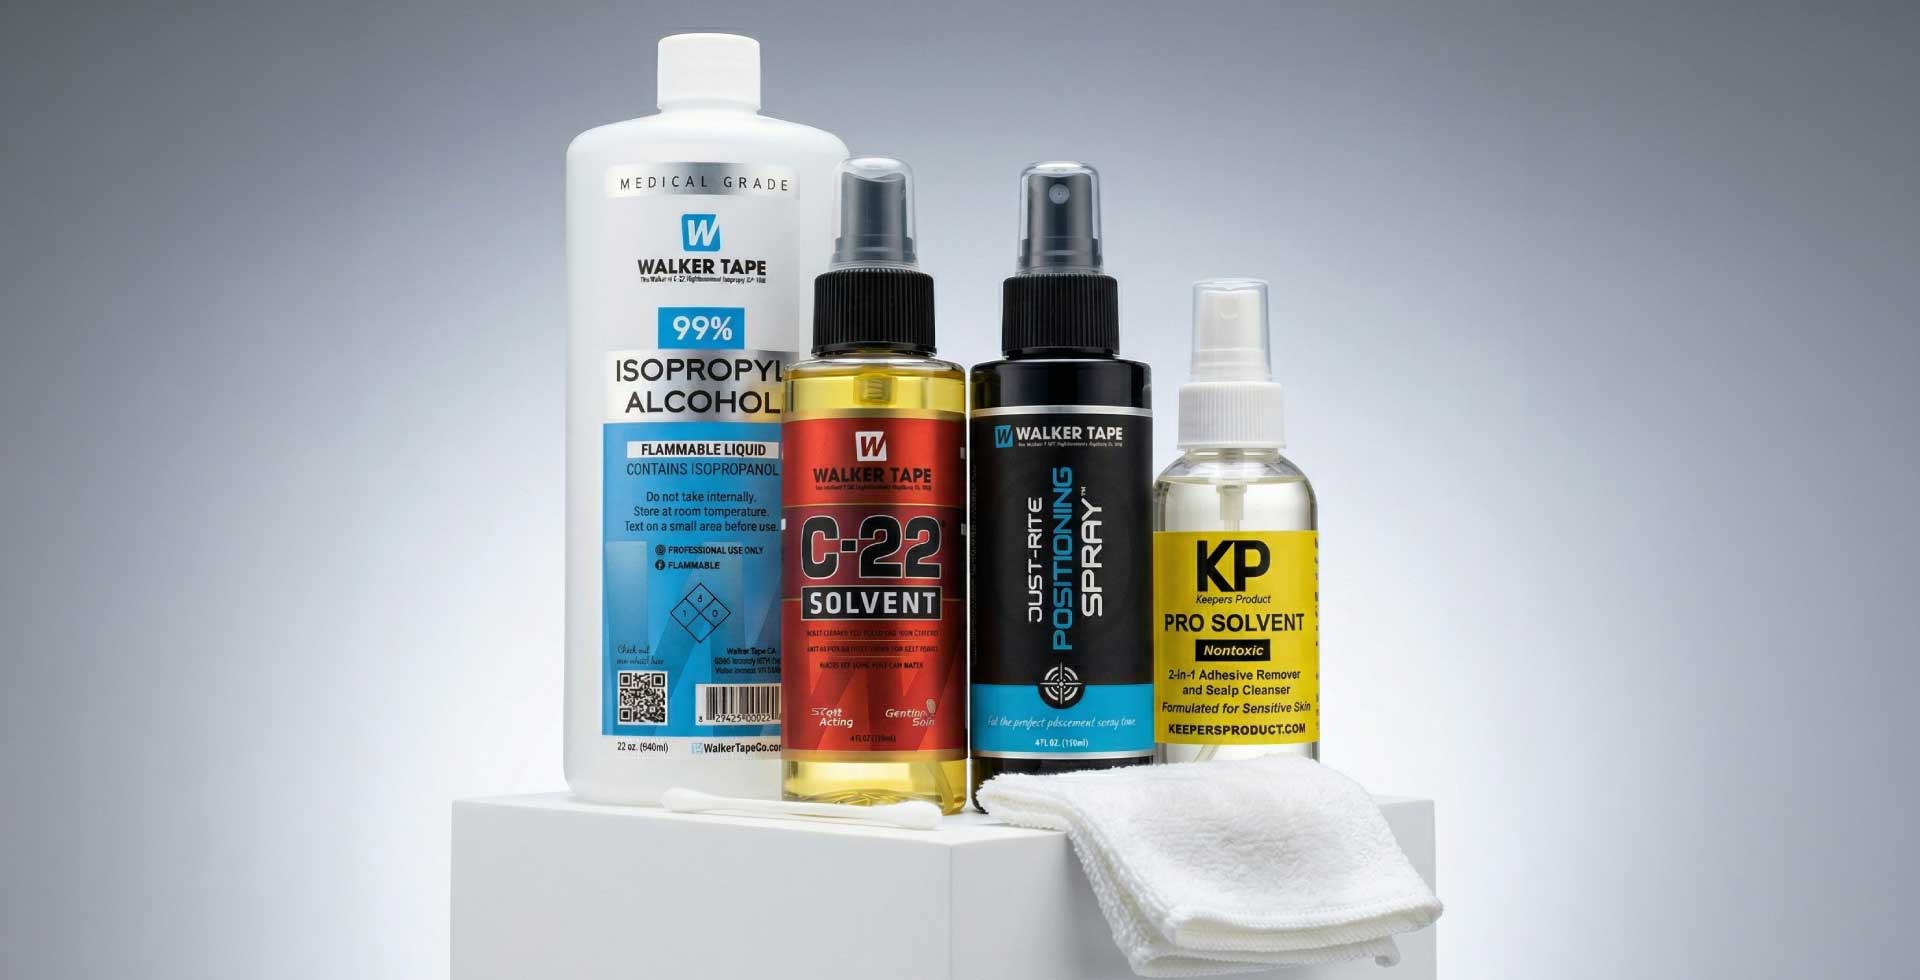
Before we get started, you will need a few things. They include the following:
- Q-tips
- KP Pro Solvent or C-22 Solvent
- 99% Isopropyl alcohol
- Just Rite Positioning Spray
- Damp paper towel
- Liquid adhesive or pre-cut tape
- Headband
- White Marker
How to Repair a Lifting Hairline at Home: Professional-grade cleaning protocol
For Lace Systems
- Secure your front hair back with a hairband.
- Press the system down firmly, then spray a small amount of isopropyl alcohol or Lace Release along the front hairline to break the adhesive bond. (Note: A little bit of alcohol goes a long way. Try not to get it in your eyes.) Alternatively, you can spray isopropyl alcohol onto a paper towel and use it to lift the hairline gently.
- Slowly lift the system from temple to temple; the goal is for the tape to stay on your scalp while separating cleanly from the lace. Then remove the tape from your front hairline.
- Apply a little adhesive solvent, such as KP Pro, that is alcohol, oil, and grease-free, to a Q-tip and wipe the front hairline.
- Use a cotton ball in circular motions to gently remove any glue residue from the lace.
- Clean the scalp and system thoroughly with alcohol, then let them dry completely with a blow dryer on a low setting.
- Apply skin prep (not scalp protector; these are different products) lightly to both the scalp and the lace; blow-dry.
- Lay fresh tape
- Apply a thin coat of Ghost Bond or Ultra Hold over the tape, not directly onto the scalp.
- Wait until the Ghost Bond turns completely transparent, then press down firmly for 60 seconds to ensure optimal bonding.
For Thin Skin (Poly) Systems
- Secure hair back with a headband or clip
- Use a Q-tip moistened with Just Rite Positioning Spray or C-22 Solvent to loosen the front edges and lift the front hairline.
- Mark the hairline position on your scalp with a marker before fully releasing.
- Clean the scalp area completely with 99% isopropyl alcohol.
- Hold the front edge of the base with one hand, and with the other hand, apply 2 thin layers of water-based adhesive liquid adhesive on the marks you have made at your hairline. Ensure the glue is spread evenly across the front edges.
- Let each coat turn fully clear before adding the next.
- Dampen a fingertip slightly with a damp paper towel before pressing down; this prevents sticking to wet glue.
- Press firmly for 60 seconds.
Lifting hairline at the front - Community solutions from Reddit users
- "I use a Q-tip swab and a little alcohol to clean the excess at my hairline each morning."
- "Tape plus walker clear glue" for combination security.
- "Scalp protector + Max hold sport + tapes is the best" combination approach.
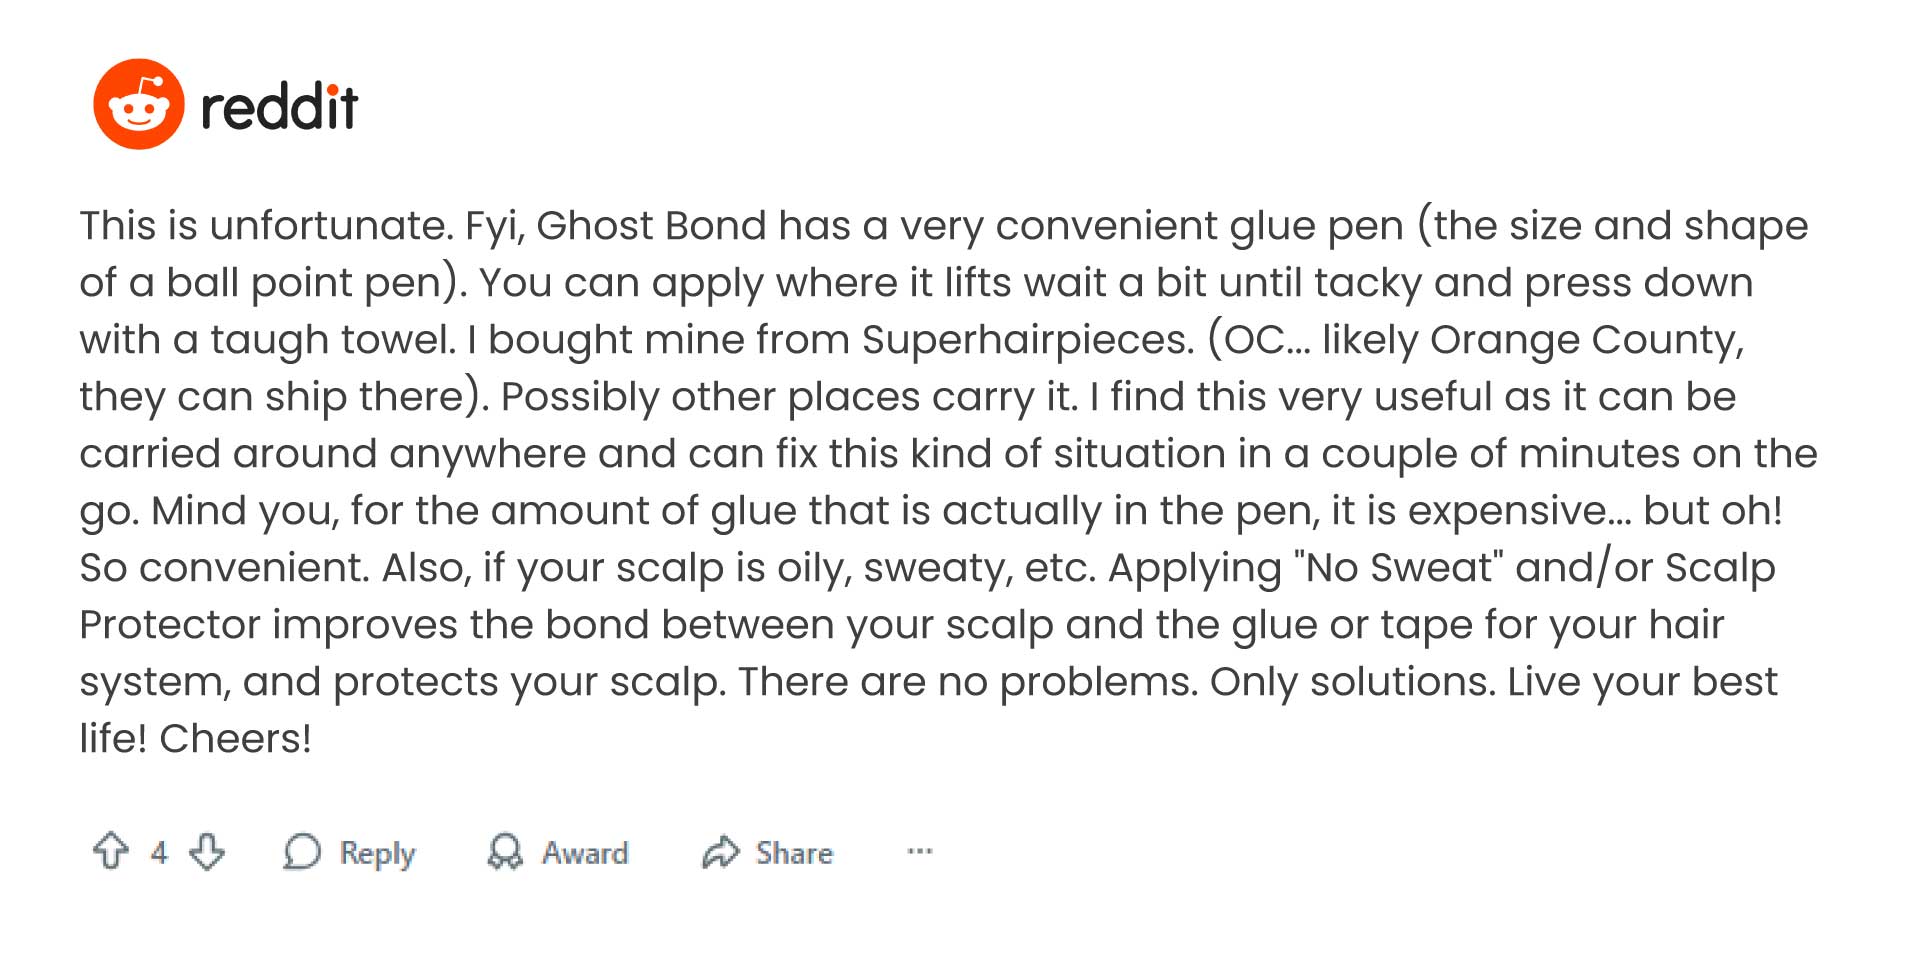
Source: https://www.reddit.com/r/HairSystem/comments/1s1vols/help_hairline_fail/
Quick Fix:
You can also use the Ghost Bond Signature Series Touch- Up Pen for an on-the-go quick fix
The Right Way to Prep Your Scalp (Don't Skip This)
Bad surface prep is the leading cause of adhesive bond failures. Follow this protocol every time:
1. Remove all oil and residue from the scalp using alcohol or adhesive remover
2. Apply No Sweat spray (works best with acrylic-based adhesives like Ultra Hold; avoid combining with Ghost Bond as it may cause clumping)
3. Apply scalp protector, let it dry completely
4. Apply two thin coats of water-based adhesive to the system only. Allow natural drying between each coat.
Note on No Sweat + Ghost Bond: Ghost Bond is water-based, and No Sweat may cause it to ball or clump. If you sweat heavily, use a silicone-based adhesive like Extreme Hold applied temple to temple, avoiding the very front hairline, where it can add thickness to the transition line.
Superhairpieces’ Expert Tips on Everyday Habits That Prevent Hairline Lifting
- Don't touch or brush the front hairline for the first 24 hours after application. In general, avoid excessive brushing or combing.
- When washing your face, protect your hairline with a shower cap or blow-dry and press down immediately after
- Use a Q-tip with a little alcohol each morning to remove excess adhesive along the hairline.
- For severe glue buildup in knots, soak the unit in C-22 solvent, then apply Dawn dish soap and gently brush with a soft brush.
- To remove glue from hair strands, spray 97% isopropyl alcohol on a fine-tooth comb (not directly on hair) and comb through on dry hair.
- Always use a scalp protector, such as Walkers Scalp Protector, on the scalp before attaching the adhesive or hair system. It helps form a protective barrier against sweat, oils, and other liquids.
Best Adhesive Combinations (Superhairpieces Stylist-Recommended)
| Situation | Recommended Combo |
|---|---|
| Normal wear | Scalp protector + Ghost Bond + tape |
| Heavy sweating | No Sweat + Ultra Hold Extreme (temple to temple) |
| Maximum hold | Scalp protector + Max Hold Sport + tape |
| Sensitive skin/lace | Tape + thin coat of Walker Ultra Clear Glue |
| Client home touch-up | Max Retouch (solvent-based retail adhesive) |
When to Go to the Salon

If your front lifts within 1 week of a fresh install, book a hairline-fix appointment. A quick service where the stylist lifts only the front, reapplies skin prep and adhesive, and re-bonds without redoing the entire system. Most lifting issues can be resolved in under 30 minutes when caught early.

 Likes
Likes


